- Spray foam $2.00-$9.00 per sq ft;
- blown-in $1.50-$4.00.
- Spray foam seals air leaks and can cut energy costs up to 50% but needs professional installation.
- Blown-in is cheaper and DIY-friendly but does not seal leaks.
- Company claims over 19 years serving Northern California (elsewhere on page: over 15 years).
Introduction to Spray Foam and Blown In Insulation
Both improve efficiency; choice depends on cost and R-value. Spray foam expands to seal gaps, forms an air barrier, suits hard-to-reach spaces. Blown-in is cellulose or fiberglass, fills large areas quickly, for attics and wall cavities. USA Spray Me is SF-based, polyurethane foam specialists.
Overview
Spray foam seals gaps, blocks air, fits irregular spaces. Blown-in uses cellulose or fiberglass and covers big areas fast. Both reduce heat transfer and HVAC use.
Cost Comparison
Upfront and long-term cost comparison table; prices are estimates.
| Insulation Type | Cost per Square Foot | Installation Complexity |
|---|---|---|
| Spray Foam | $2.00 - $9.00 | High (Professional Installation Recommended) |
| Blown-In | $1.50 - $4.00 | Low (DIY Friendly) |
Installation Costs
Spray foam $2.00-$9.00 per sq ft due to expert application; blown-in $1.50-$4.00 and can reduce labor costs for DIY.
Long-term Savings
Spray foam costs more upfront but air sealing saves money; can pay back within a few years through lower energy bills.
Pros and Cons: Blown-in insulation
Pros: low cost for large areas, quick installation, recycled content, good soundproofing. Cons: settles over time, does not seal air leaks causing drafts in older homes.
- Pros: low cost, quick install, recycled content, soundproofing
- Cons: settles, no air sealing
Advantages
Inexpensive for large areas; more sustainable via recycled materials.
Disadvantages
Settling reduces insulating value; no air sealing causes drafts and energy loss.
Energy Efficiency
How each type affects heating, cooling and bills.
Licensed, bonded & insured — free on-site inspections within 100 miles of San Francisco. Save $250 on orders over $2,500.
Spray Foam Efficiency
Fills every gap for airtight seal; can cut energy costs up to 50%; higher upfront, significant long-term savings.
- Up to 50% energy savings
Blown-In Insulation Efficiency
Improves efficiency and covers large areas but does not seal air; regular maintenance and sealing advised; cost-effective for limited-access spaces.
Installation Process
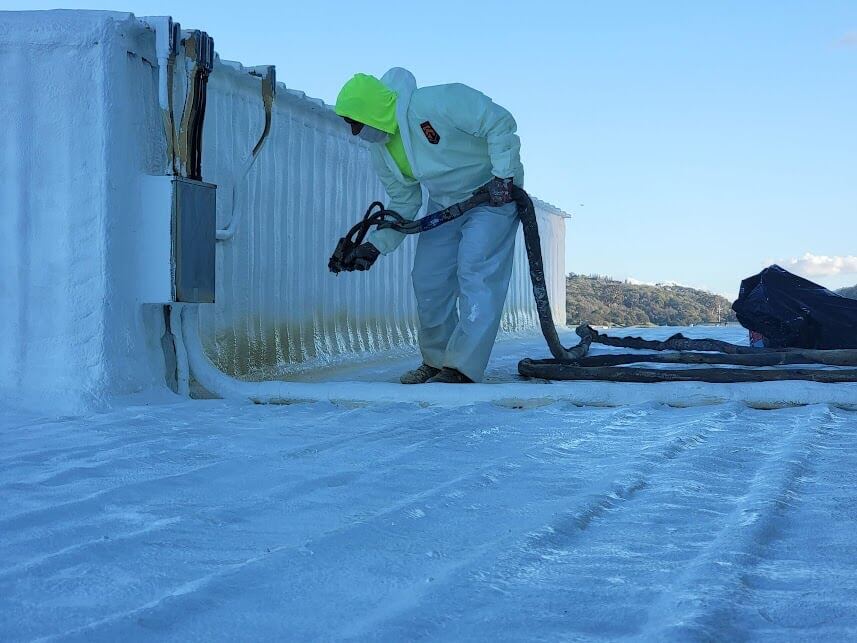
Spray foam requires specialized equipment and expertise; blown-in can often be DIY.
Steps for Installing Spray Foam Installation
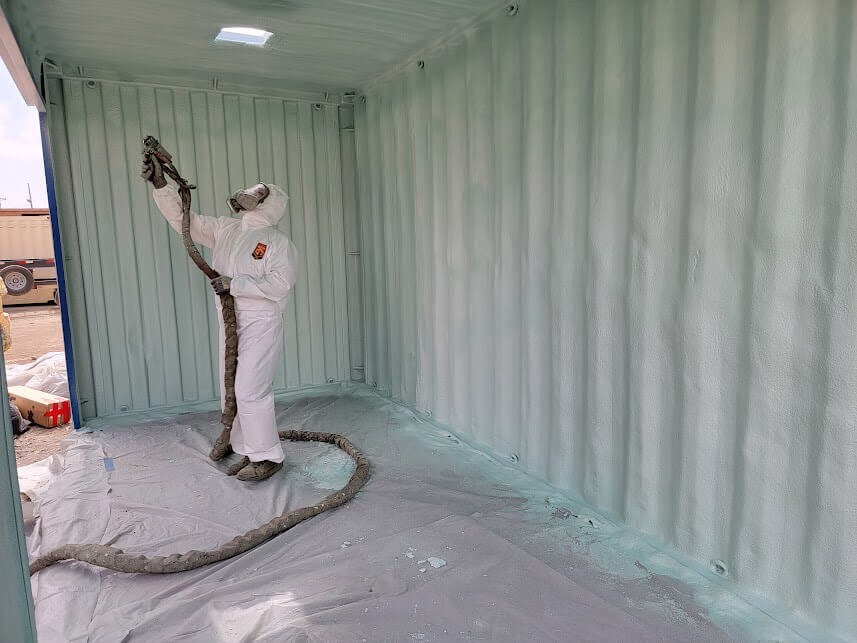
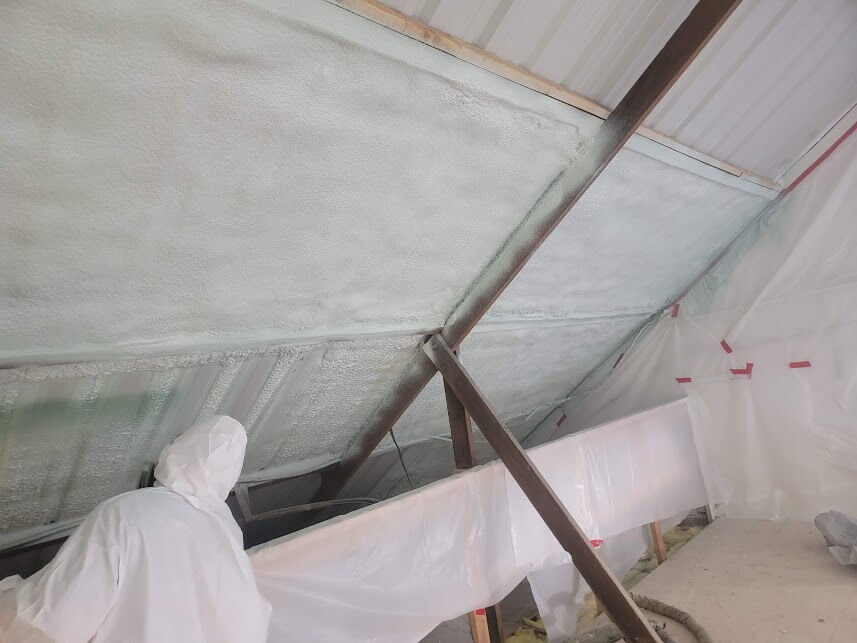
Professional assesses area and foam quantity; seals large gaps and covers non-target surfaces; sprays foam to form a solid barrier.
- Assessment
- Prep and masking
- Spray application
Steps for Installing Blown-In Insulation
Rent or buy a blower machine, load insulation, direct material into attics or wall cavities for even coverage; less specialized equipment than spray foam.
- Rent/buy blower
- Load insulation
- Blow into cavities evenly
Choosing the Right Insulation for Your Project
Spray foam: best efficiency and long-term results. Blown-in: cheaper and easier, especially for large spaces.
Recommendation
Spray foam for maximum efficiency and long-term benefits with budget for professional installation. Blown-in for budget buyers, large areas and DIYers.
Get an Instant Quote From a Licensed California Insulation Contractor
USA Spray Me (CSLB Lic# 1058008) installs spray foam, blow-in, fiberglass and soundproofing insulation, foam roofing and protective coatings throughout the San Francisco Bay Area and within 100 miles of the city. Call (855) 566-5340 or request a free inspection below — save $250 on orders over $2,500.